
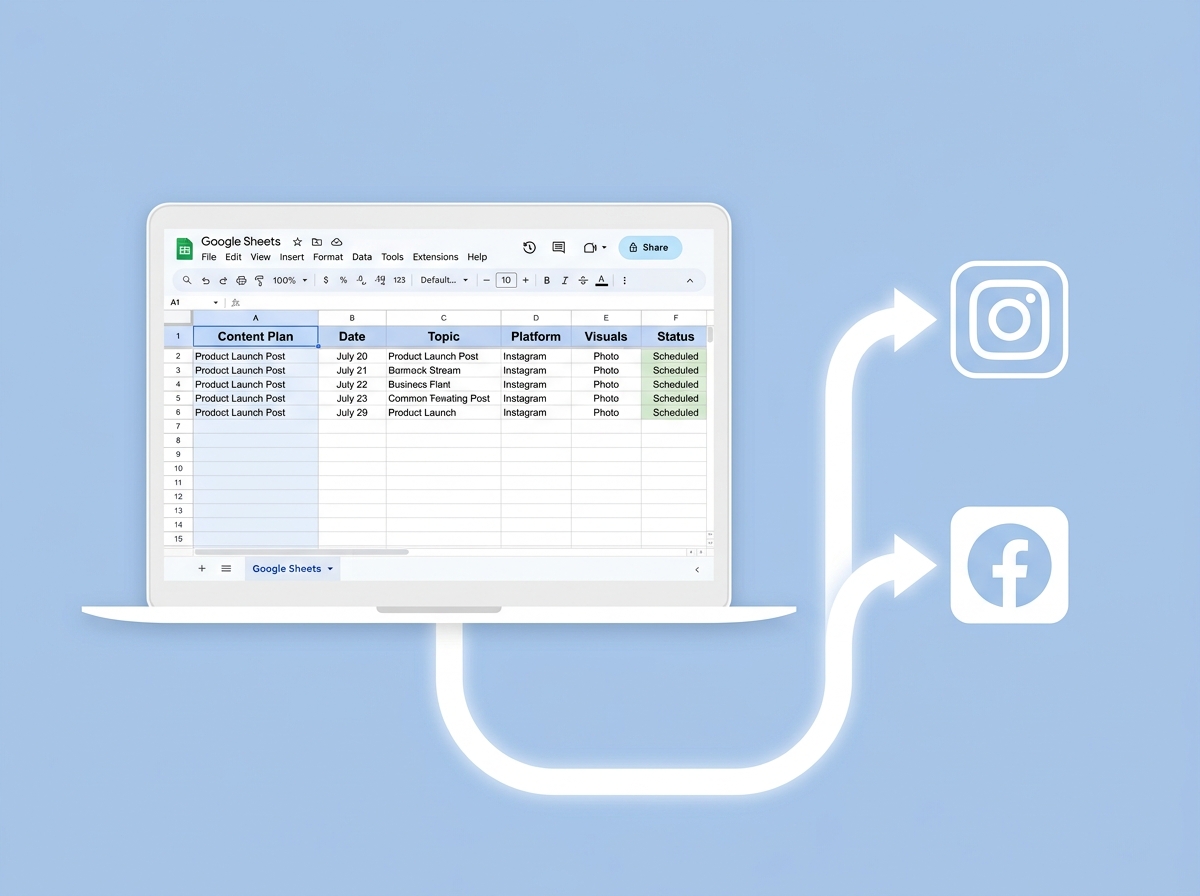
If you’re manually copying captions, switching between apps, and trying to remember what to post and when — there’s a much better way. You can automate social media posts with Google Sheets and let a simple workflow handle the heavy lifting for you. No coding required, no expensive tools, and no more last-minute scrambling to keep your feeds active.
In this post, we’ll walk you through exactly how to connect Google Sheets to Instagram and Facebook using Make.com — so your content goes out automatically, on schedule, every time.
Why Use Google Sheets as Your Content Hub?
Google Sheets is something almost every business owner already uses. It’s free, flexible, and easy to share with a team or virtual assistant. When you use it as your social media content calendar, you get a single source of truth for all your posts — captions, image links, posting dates, and platform targets all in one place.
Instead of logging into a scheduling tool and manually entering each post, you simply update your spreadsheet. Your automation does the rest. It’s one of the most practical ways to automate social media posts with Google Sheets without needing any technical background.
What You’ll Need Before You Start
- A Google account with access to Google Sheets and Google Drive
- A Make.com account (the free plan works to get started)
- A Facebook Business Page connected to your Instagram account
- Images hosted online (Google Drive, Dropbox, or a CDN link work great)
- A basic content plan — even just two weeks of posts to start
Once you have these in place, you’re ready to build your first automation scenario in Make.com. If you’re new to Make.com, check out our beginner’s guide to Make.com automation to get familiar with the platform first.
How to Set Up Your Google Sheet for Auto-Posting
The key to making this work smoothly is setting up your spreadsheet correctly from the start. Think of each row as one scheduled post. Your columns should be clearly labeled so Make.com knows exactly what data to pull and where to send it.
Recommended Column Structure
- Column A – Date/Time: When you want the post to go live (use a consistent format like MM/DD/YYYY HH:MM)
- Column B – Platform: Instagram, Facebook, or Both
- Column C – Caption: Your full post caption including hashtags
- Column D – Image URL: A direct link to your image file
- Column E – Status: Leave blank or type “Pending” — Make.com will update this to “Posted” once it runs
Using a Status column is a game-changer. It prevents duplicate posts and gives you a clear visual of what’s gone out and what’s still in the queue. This small detail makes your entire system much more reliable.
Hosting Your Images the Right Way
Instagram and Facebook require a publicly accessible image URL — they can’t pull from a private Google Drive folder. The easiest fix is to upload your images to Google Drive and change the sharing settings to “Anyone with the link can view,” then convert the link to a direct download URL format.
Alternatively, tools like Dropbox, ImgBB, or Cloudinary make it easy to generate clean, public image links. Pick whichever fits your existing workflow and stick with it for consistency.
Building the Make.com Scenario Step by Step
Now for the fun part. Inside Make.com, you’ll build a scenario — which is just their word for an automated workflow. Here’s how the flow works at a high level:
- Trigger: Make.com checks your Google Sheet on a schedule (every hour, every day — you choose)
- Filter: It looks for rows where the Status is “Pending” and the Date/Time matches the current time
- Action: It sends the caption and image to Instagram and/or Facebook via their APIs
- Update: It marks the row in your sheet as “Posted” so it doesn’t run again
Connecting Google Sheets in Make.com
In Make.com, add a Google Sheets – Search Rows module as your trigger. Connect your Google account, select your spreadsheet and the correct sheet tab, and set a filter to only pull rows where Column E equals “Pending.” This ensures only unposted content gets processed each time the scenario runs.
Connecting Facebook and Instagram
Make.com has native modules for both Facebook Pages and Instagram for Business. You’ll need to connect your Facebook account and grant the necessary permissions. For Instagram, your account must be a Professional (Business or Creator) account linked to a Facebook Page — this is a Meta requirement, not a Make.com limitation.
Map your Caption column to the message field and your Image URL to the media field. If you’re posting to both platforms, simply add two separate action modules — one for Facebook, one for Instagram — and run them in parallel within the same scenario. Want to learn more about connecting platforms? See our post on Make.com social media integrations for small businesses.
Adding the “Mark as Posted” Step
After your posting modules, add a Google Sheets – Update a Row module. Set it to find the same row that was just processed and change the Status column to “Posted.” This simple step is what keeps your automation clean and prevents the same post from going out twice.
Tips to Get the Most Out of This Automation
Once your scenario is live, a few best practices will help you get consistent results and avoid common hiccups.
- Batch your content weekly: Spend 30–60 minutes each week filling in the next 7–10 rows. That’s it — your automation handles the rest.
- Use Make.com’s error notifications: Turn on email alerts so you know immediately if a post fails to go out.
- Test with a future date first: Before going live, set a test row 5 minutes in the future and watch the scenario run to confirm everything works.
- Keep captions in a separate doc first: Write and review your captions in Google Docs, then paste the final version into your sheet to avoid typos going live.
- Repurpose top-performing posts: Duplicate rows from past months and update the date to recycle content that performed well.
This system works especially well when paired with an AI content generation workflow — where tools like ChatGPT write your captions and automatically populate your sheet. If that sounds interesting, check out our guide on AI content automation for small businesses.
- You can automate social media posts with Google Sheets and Make.com without any coding skills
- A well-structured spreadsheet with a Status column keeps your automation clean and prevents duplicate posts
- Make.com connects natively to both Facebook Pages and Instagram Business accounts for seamless publishing
- Batching your content weekly means you only need to spend about an hour to keep your social media active all week
- Adding error notifications and testing before going live saves you from missed posts and public mistakes
Ready to Stop Posting Manually?
Setting up this kind of automation might sound technical, but once it’s running, it genuinely changes how much time you spend on social media management. Instead of being reactive and scrambling for content, you’re operating from a plan — and your automation is executing it for you while you focus on growing your business.
If you’d rather have an expert set this up for you — or if you want a custom automation built around your specific platforms, content style, and posting schedule — we’d love to help. Our team at LetsGetSocialOnline.com builds Make.com workflows for small businesses every day, and we can have you up and running faster than you think.
Contact us today to get your social media automation set up the right way →