
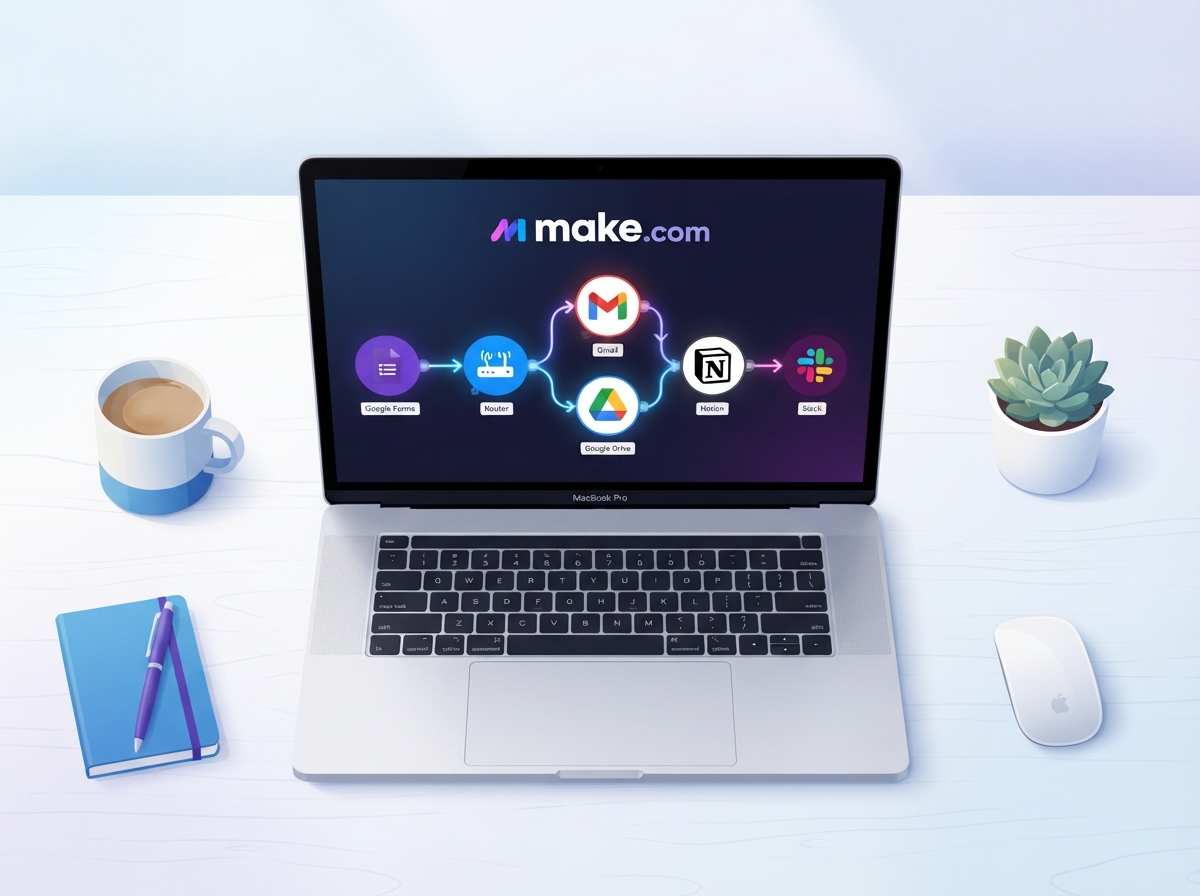
If you’ve ever spent hours manually sending welcome emails, creating folders, setting up project tasks, and chasing down client information — you already know how exhausting onboarding new clients can be. The good news? Client onboarding automation in Make.com can handle all of that for you, and you can have it up and running in under an hour. No coding required. No tech degree needed. Just a smarter way to run your business.
Make.com (formerly Integromat) is one of the most powerful and beginner-friendly automation platforms available today. It connects your favorite apps — like Google Forms, Gmail, Notion, Slack, and more — and lets them work together automatically. In this post, we’ll walk you through exactly how to build a client onboarding workflow that saves you time and makes a great first impression.
Why Automating Client Onboarding Is a Game-Changer
First impressions matter — especially in business. When a new client signs on, they want to feel welcomed, organized, and confident they made the right choice. A slow, manual onboarding process can undermine that confidence before the work even begins.
With client onboarding automation in Make.com, you can deliver a seamless, professional experience every single time — without lifting a finger after the initial setup. Here’s what automation can do for your onboarding process:
- Eliminate repetitive manual tasks like copying data between apps or sending the same welcome email over and over
- Reduce human error by letting the system handle data entry and file creation
- Speed up your response time so clients feel taken care of immediately
- Free up your time to focus on delivering great work instead of admin tasks
- Scale your business without needing to hire extra help just to manage paperwork
If you’re still doing all of this manually, you’re leaving time — and money — on the table. And if you’re curious about other ways automation can help your business grow, check out how Make.com automation works for small businesses.
What You’ll Need Before You Start
Before you build your first scenario in Make.com, you’ll want to have a few things ready. Don’t worry — none of this requires technical expertise. You just need to know which tools you’re already using and what your onboarding process looks like today.
Tools to Connect
For this tutorial, we’ll use a simple but powerful stack that most small businesses already have access to:
- Google Forms — to collect new client information
- Gmail or Google Workspace — to send automated welcome emails
- Google Drive — to automatically create a client folder
- Notion or Trello — to create a new project or task board
- Slack — to notify your team when a new client comes in
You’ll also need a free or paid Make.com account. The free plan is generous enough to get started, and you can always upgrade as your automations grow more complex.
Map Out Your Onboarding Steps First
Before touching Make.com, take five minutes to write down every step in your current onboarding process. What happens after a client signs a contract? What information do you need from them? Who on your team needs to be notified? Having this mapped out makes building your scenario much faster and more intentional.
How to Build Your Client Onboarding Automation in Make.com
Now for the fun part. Here’s a step-by-step breakdown of how to build your client onboarding automation in Make.com from scratch.
Step 1 — Set Up Your Trigger
Log into Make.com and create a new scenario. Your trigger is the event that starts the automation. In this case, select Google Forms as your trigger app and choose “Watch Responses” as the trigger event. This means every time a new client submits your intake form, the automation kicks off automatically.
Step 2 — Send a Welcome Email
Add a Gmail module as your next step and set it to “Send an Email.” Use the data pulled from the form — like the client’s name and email address — to personalize the message. You can write a warm, professional welcome email once and let Make.com send it automatically every time. This alone saves most business owners 15–30 minutes per new client.
Step 3 — Create a Client Folder in Google Drive
Add a Google Drive module and select “Create a Folder.” Use the client’s name from the form to automatically name the folder. You can even set it to be created inside a specific parent folder, like “Active Clients,” so everything stays organized without you having to do a thing.
Step 4 — Add a Project in Notion or Trello
Connect your project management tool and create a new card, page, or task automatically. Include the client’s name, project type, start date, and any other details from the intake form. This ensures your team always has the information they need from day one — no more digging through emails.
Step 5 — Notify Your Team in Slack
Finally, add a Slack module to send a message to your team’s channel. Something like: “🎉 New client onboarded: [Client Name] — check Notion for details.” This keeps everyone in the loop instantly and creates a culture of visibility in your business.
Once you’ve connected all the modules, run a test using a sample form submission. If everything works correctly, turn your scenario on — and you’re done. Your Make.com client onboarding automation is live and working for you 24/7.
Want to take things even further? Learn how to automate your social media posting with Make.com and keep your content flowing without the daily grind.
Tips to Get the Most Out of Your Onboarding Automation
Building the automation is just the beginning. Here are a few ways to make it even more effective over time:
- Personalize every touchpoint — use the client’s name and project details in every automated message to keep things feeling human
- Add a delay module to send a follow-up email 24 hours after onboarding with next steps or a link to your client portal
- Use filters in Make.com to route different types of clients to different workflows based on their answers
- Review your scenario monthly to make sure it still matches your current process as your business evolves
- Document your automation so team members understand how it works if you ever need to hand it off
If you’re also thinking about how automation fits into your broader digital marketing strategy, our guide on the best digital marketing tools for small businesses is a great place to start.
Key Takeaways
- Client onboarding automation in Make.com can be built in under an hour with no coding skills required
- Connecting Google Forms, Gmail, Google Drive, Notion, and Slack creates a fully automated onboarding experience
- Automation reduces manual errors, speeds up response times, and frees up your time for higher-value work
- Personalizing automated messages keeps the client experience warm and professional even when it’s hands-free
- Once built, your Make.com scenario runs 24/7 — onboarding clients even while you sleep
Automating your client onboarding isn’t just about saving time — it’s about delivering a consistently excellent experience that builds trust from day one. With Make.com client onboarding automation, you can do exactly that without adding more to your plate.
Ready to stop doing things manually and start building smarter systems? Contact the team at LetsGetSocialOnline.com and let’s build your custom Make.com automation together. We’ll have you up and running faster than you think.