
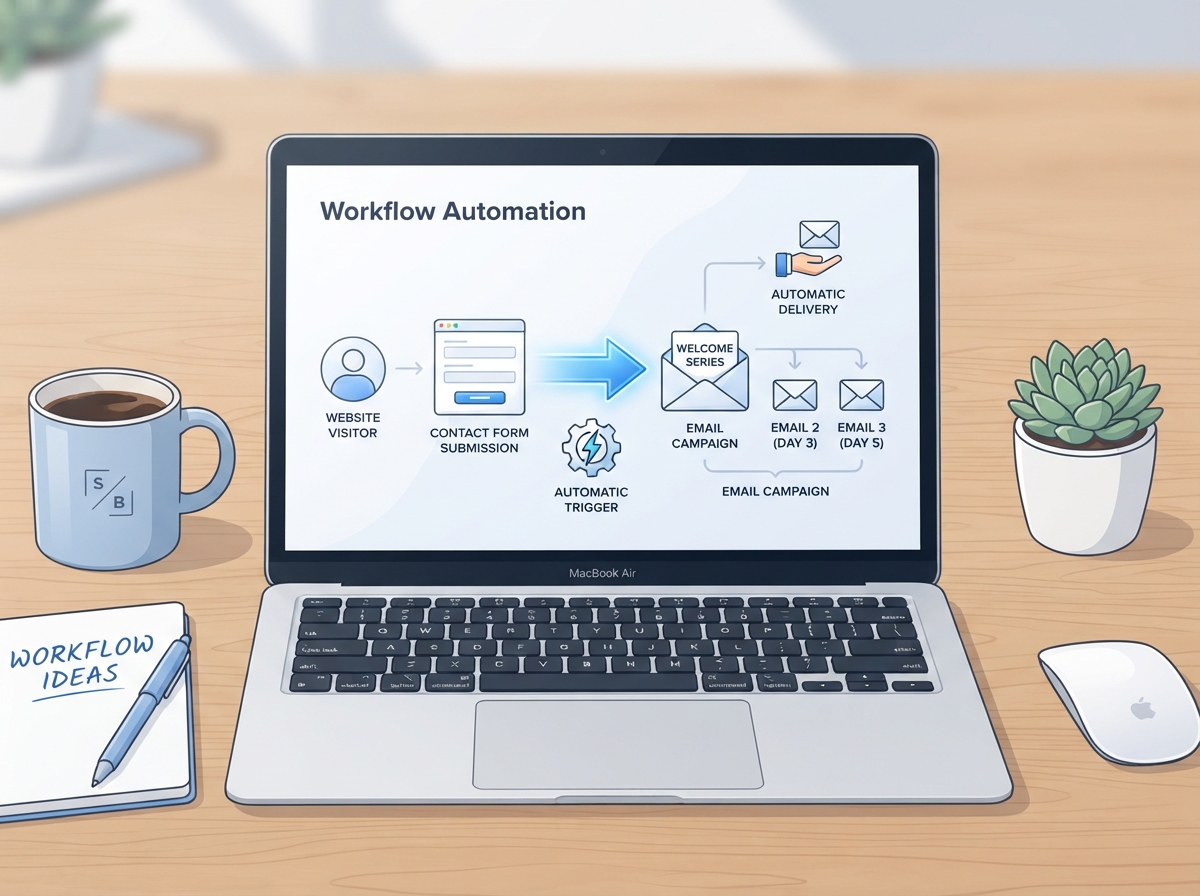
If someone fills out your contact form and doesn’t hear back for hours — or worse, days — there’s a good chance they’ve already moved on to a competitor. Setting up an automatic follow-up email contact form response is one of the simplest and most powerful things you can do to keep leads warm and make a great first impression. And with Make.com, you can build this automation in under an hour — no coding required.
In this post, we’ll walk you through exactly how to set it up, why it matters for your business, and what to include in your follow-up email to maximize conversions.
Why Automatic Follow-Up Emails Matter for Your Business
Speed is everything in lead response. Studies consistently show that responding to a new inquiry within the first five minutes dramatically increases your chances of converting that lead into a paying customer. But let’s be honest — most small business owners aren’t sitting at their desks waiting for form submissions to roll in.
That’s where automation changes the game. When you set up an automatic follow-up email contact form workflow, every new inquiry gets an immediate, professional response — even if you’re in a meeting, on vacation, or asleep. Your business keeps working even when you’re not.
The Real Cost of Slow Responses
Every minute that passes after someone submits your contact form is a minute they might spend browsing your competitor’s website. A delayed response signals that your business may not be attentive or reliable — even if that’s far from the truth. Automation removes that risk entirely.
What a Good Follow-Up Email Does
- Confirms that their message was received
- Sets expectations for when they’ll hear back from you personally
- Reinforces your brand voice and professionalism
- Keeps the conversation warm while you prepare a personalized reply
- Optionally, offers a next step — like booking a call or visiting a resource page
What You’ll Need Before You Start
Before building your automation in Make.com, make sure you have a few things in place. This will make the setup process much smoother and ensure your workflow runs reliably from day one.
Tools and Access Required
- A Make.com account — the free plan works for basic automations
- A contact form on your website (Gravity Forms, WPForms, Typeform, Jotform, or similar)
- An email service — Gmail, Outlook, or an email marketing platform like Mailchimp or ActiveCampaign
- Basic access to your website’s form settings or a webhook URL
If you’re using WordPress, most popular form plugins support webhooks or have native Make.com integrations. If you’re not sure which form tool is right for your site, check out our guide on web design tools for small businesses for recommendations.
How to Build the Automation in Make.com
Here’s a step-by-step breakdown of how to create your automatic follow-up email contact form workflow inside Make.com. Even if you’ve never used Make.com before, this process is very beginner-friendly.
Step 1: Create a New Scenario
Log into your Make.com account and click Create a new scenario. This is your automation workspace — think of it as a visual flowchart where each step connects to the next. Start by searching for your contact form tool as the trigger module (e.g., “Typeform,” “Gravity Forms,” or use a generic Webhooks module if your form supports it).
Step 2: Set Up Your Trigger
Your trigger is the event that starts the automation — in this case, a new form submission. Connect your form tool to Make.com by following the on-screen authentication steps. Once connected, run a test submission so Make.com can detect the data fields (like name, email, and message) coming from your form.
Step 3: Add an Email Module
Click the + button to add a new module after your trigger. Search for your email provider — Gmail, Outlook, or SMTP — and select the Send an Email action. In the “To” field, map the email address field from your form data. This ensures every follow-up goes to the right person automatically.
Step 4: Write Your Follow-Up Email
This is where you craft the message your leads will receive. Keep it warm, brief, and on-brand. Here’s a simple structure that works well:
- Subject line: “Thanks for reaching out, [First Name]!”
- Opening: Acknowledge their inquiry and thank them
- Middle: Let them know when to expect a personal response
- Closing: Offer a helpful next step (e.g., link to your FAQ, services page, or calendar booking link)
- Sign-off: Your name, title, and contact info
You can use Make.com’s dynamic field mapping to personalize the email with the lead’s name and other details they submitted. Personalization — even in automated emails — significantly improves open rates and response quality. For more tips on writing emails that convert, explore our post on email marketing tips for small businesses.
Step 5: Test and Activate
Before going live, run a full test by submitting your contact form and confirming the follow-up email lands in your inbox as expected. Check that the name, email address, and any personalized fields are pulling through correctly. Once everything looks good, toggle your scenario to ON and you’re live.
Tips to Make Your Follow-Up Email Even More Effective
Getting the automation running is just the beginning. A few small tweaks can turn a basic confirmation email into a genuine conversion tool for your business.
Add a Personal Touch
Even though the email is automated, it shouldn’t feel robotic. Use the lead’s first name, reference the fact that you personally look forward to connecting, and match the tone of your brand. If your business is casual and friendly, your automated email should be too.
Include a Clear Next Step
Don’t leave your lead hanging after the confirmation. Give them something to do — whether that’s booking a discovery call, reading a relevant blog post, or following you on social media. A well-placed call-to-action in your follow-up email can move leads further down your funnel before you’ve even spoken to them.
Keep It Short
This is not the place for a long sales pitch. Three to five short paragraphs is plenty. Your goal is to reassure the lead, set expectations, and keep them engaged — not overwhelm them with information before you’ve had a real conversation.
- An automatic follow-up email contact form response helps you engage leads instantly — even when you’re unavailable.
- Make.com makes it easy to build this automation without any coding knowledge.
- Personalization, even in automated emails, significantly improves lead engagement and conversion rates.
- Always include a clear next step in your follow-up email to keep leads moving through your funnel.
- Test your automation thoroughly before going live to ensure every field maps correctly.
Setting up an automatic follow-up email contact form workflow is one of those small changes that delivers big results. It saves you time, impresses your leads, and ensures no inquiry ever slips through the cracks. If you’re ready to take your automation further — think CRM updates, lead tagging, Slack notifications, and more — the possibilities inside Make.com are nearly endless. You can also explore how Make.com automation can streamline your entire business beyond just email.
Want help setting this up for your business? Our team at LetsGetSocialOnline.com specializes in building smart, time-saving automations tailored to your workflow. Get in touch with us today and let’s build something that works for you around the clock.