
If you’ve ever lost a deal because you responded to a lead too late, you already know how costly slow follow-up can be. Setting up a Make.com lead notification system is one of the smartest, simplest automations you can build — and you don’t need to write a single line of code to do it. In this guide, we’ll walk you through exactly how to create a real-time lead alert system that keeps your team in the loop the moment a new prospect raises their hand.
Why Lead Notification Automation Matters for Your Business
Speed is everything in sales. Studies consistently show that responding to a lead within the first five minutes dramatically increases your chances of converting them. But if your leads are sitting in a form submission inbox that nobody checks until Tuesday morning, you’re leaving money on the table.
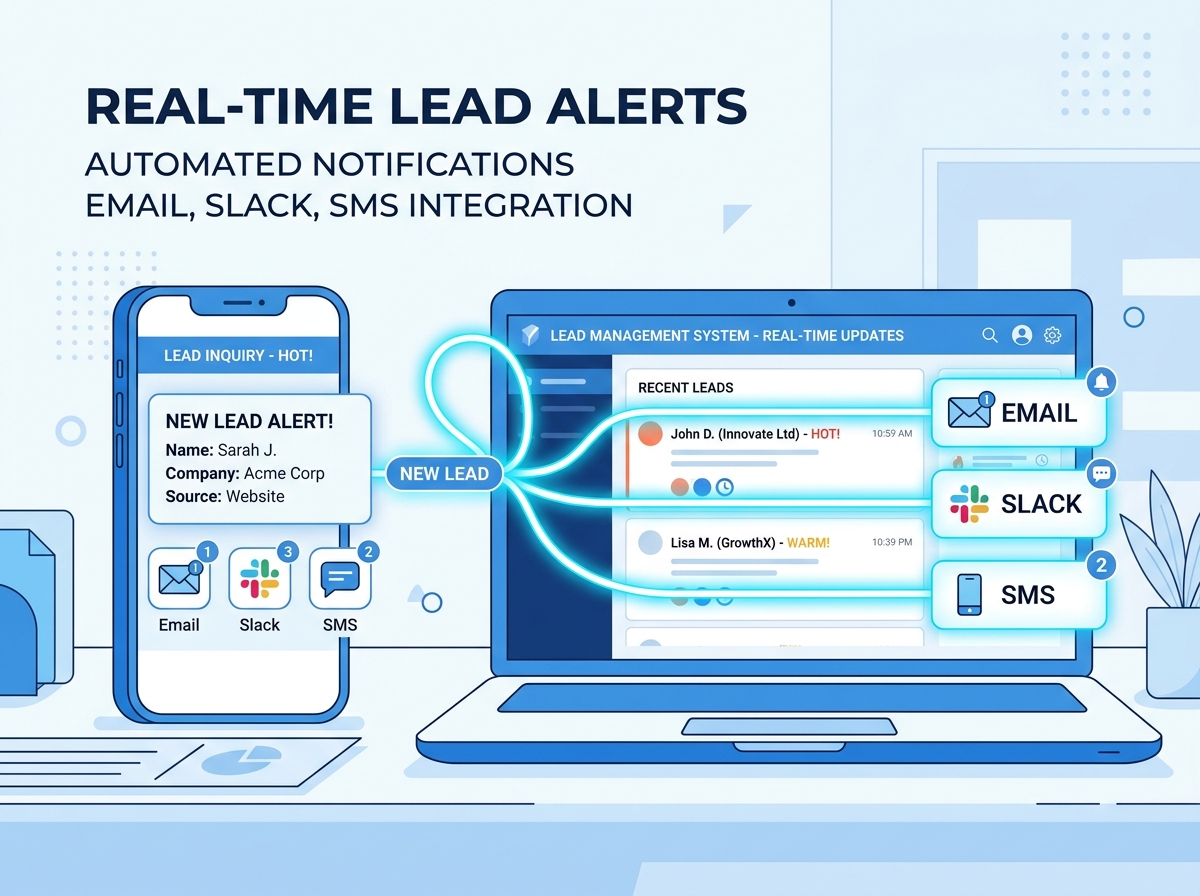
A Make.com lead notification system solves this problem by automatically triggering an alert — via email, Slack, SMS, or your CRM — the moment someone fills out your contact form, downloads a lead magnet, or books a call. No manual checking. No missed opportunities. Just instant awareness so your team can act fast.
This kind of automation is especially powerful for small businesses and solo entrepreneurs who wear multiple hats. You can’t be watching every inbox all day, but your automation can.
What You’ll Need Before You Start
The good news is that getting started with Make.com is surprisingly straightforward. Before you build your first scenario, make sure you have the following in place:
- A free or paid Make.com account (the free plan is enough to get started)
- A lead capture tool such as Typeform, Google Forms, Gravity Forms, or a CRM like HubSpot or Pipedrive
- A destination for your notifications — this could be Gmail, Slack, SMS via Twilio, or even a Google Sheet
- Basic familiarity with your form tool’s settings (no coding required)
If you’re still figuring out which tools to connect, check out our beginner’s guide to Make.com automation for small businesses to get a solid foundation before diving in.
How to Build Your Make.com Lead Notification Scenario Step by Step
Step 1: Create a New Scenario in Make.com
Log into your Make.com account and click “Create a new scenario.” This is your automation canvas — think of it like a visual flowchart where each step connects to the next. You’ll start by choosing a trigger, which is the event that kicks everything off.
Step 2: Set Your Trigger (Where Leads Come From)
Your trigger is the starting point of your Make.com lead notification workflow. Search for your form or CRM tool in the module library. For example, if you’re using Typeform, select the Typeform > Watch Responses module. If you’re using a webhook-based form, choose the Webhooks > Custom Webhook module and paste the generated URL into your form settings.
Once connected, Make.com will listen for new submissions in real time. Every time someone fills out your form, the scenario will automatically activate and pass that data to the next step.
Step 3: Add Your Notification Action
Now it’s time to decide where your alert goes. Click the “+” button to add a new module and choose your notification channel. Here are the most popular options:
- Email (Gmail or SMTP): Send a formatted email to yourself or your sales team with the lead’s name, email, and message
- Slack: Post a message to a dedicated #leads channel so your whole team sees it instantly
- SMS via Twilio: Get a text message the moment a lead comes in — great for high-priority inquiries
- Google Sheets: Log every lead automatically into a spreadsheet for tracking and follow-up
- CRM (HubSpot, Pipedrive, etc.): Create a new contact or deal record automatically so nothing falls through the cracks
For most small businesses, we recommend starting with email + Slack or email + Google Sheets. It’s simple, reliable, and gives you both an instant alert and a running log of all your leads.
Step 4: Map Your Data Fields
Once you’ve selected your notification module, you’ll need to map the data from your form to the fields in your notification. In Make.com, this is as easy as clicking on a field and selecting the corresponding variable from your trigger — like {{Name}}, {{Email}}, or {{Message}}. Make.com’s visual interface makes this intuitive even if you’ve never done it before.
Step 5: Test and Activate Your Scenario
Before going live, always run a test. Click “Run once” and submit a test entry through your form. Make.com will show you exactly what data was captured and whether your notification was sent successfully. Once everything looks good, toggle your scenario to ON and you’re live.
Pro Tips to Get More Out of Your Lead Notification System
Once your basic Make.com lead notification is running, there are several ways to make it even more powerful. These upgrades take just a few extra minutes but can significantly improve your lead management process.
- Add a filter: Only trigger notifications for leads from specific sources, locations, or service types — so your team isn’t overwhelmed with low-priority submissions
- Include lead scoring data: If your CRM supports it, pull in lead score or source data so your team knows which leads to prioritize
- Send a confirmation email to the lead: Add a second action module to automatically send a thank-you email to the prospect, improving their experience while you prepare your response
- Connect to your calendar: Use Calendly or Google Calendar integration to suggest a booking link in your follow-up notification
Want to take your automation even further? Learn how to connect Make.com to your CRM for full lead pipeline automation and stop managing contacts manually for good.
Key Takeaways
- A Make.com lead notification system alerts your team instantly when a new lead comes in — no manual checking required
- You can connect almost any form tool (Typeform, Google Forms, Gravity Forms) to Make.com in minutes
- Notifications can be sent via email, Slack, SMS, or directly into your CRM or Google Sheets
- Mapping data fields in Make.com is visual and beginner-friendly — no coding needed
- Adding filters, auto-replies, and CRM connections can turn a simple alert into a full lead management system
Building a Make.com lead notification system is one of the highest-ROI automations you can set up as a small business owner. It takes less than an hour, costs little to nothing, and ensures that every lead gets the fast, professional response they deserve. The faster you follow up, the more deals you close — and now your automation does the heavy lifting for you.
If you’d like help setting up your lead notification workflow or building a more advanced automation system tailored to your business, explore our Make.com automation services or reach out to our team directly.
Ready to stop missing leads and start closing more deals? Contact us today and let’s build your custom Make.com automation together.