
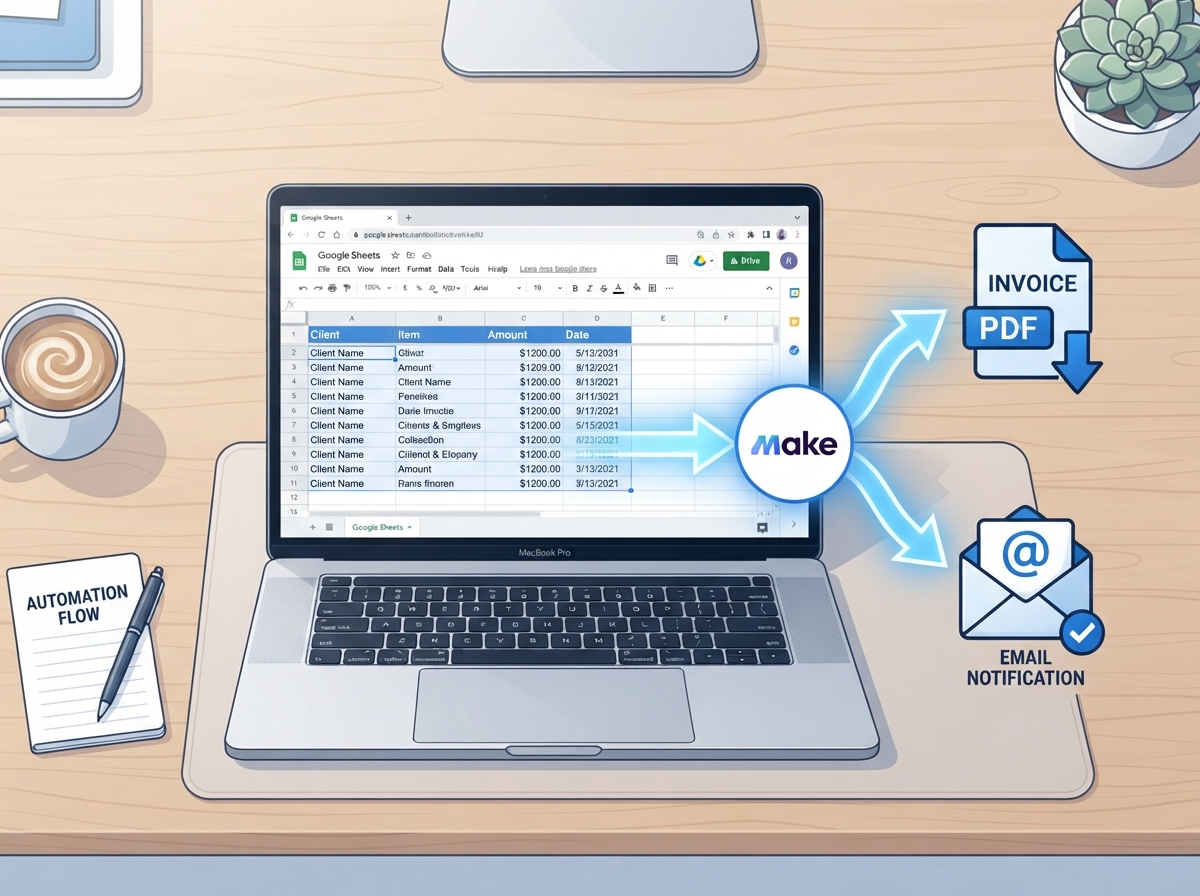
If you’re still manually creating invoices every time you close a sale, you’re leaving time — and money — on the table. Building an automated invoice system with Make.com and Google Sheets is one of the smartest moves you can make as a small business owner. It eliminates repetitive data entry, reduces human error, and ensures your clients receive professional invoices without you lifting a finger. In this guide, we’ll walk you through exactly how to set it up — no coding required.
Why Automate Your Invoicing Process?
Manual invoicing is one of those tasks that feels manageable at first — until your client list grows and you’re spending hours each week chasing down payment details, formatting documents, and sending follow-up emails. That’s time you could be spending on growing your business.
Automation changes the game entirely. When you connect Make.com with Google Sheets, you create a seamless pipeline where new client data automatically triggers invoice creation and delivery. No more copy-pasting. No more forgotten invoices. No more late payments because something slipped through the cracks.
- Save 3–5 hours per week on manual billing tasks
- Reduce invoice errors caused by manual data entry
- Get paid faster with instant, professional invoice delivery
- Scale your business without scaling your admin workload
If you’re already using Make.com automation for your small business, adding an invoicing workflow is a natural next step that delivers immediate ROI.
What You’ll Need Before You Start
The good news is that this setup uses tools you likely already have access to. Before you build your automated invoice system with Make.com, make sure you have the following in place.
Tools and Accounts Required
- Make.com account — A free plan works to get started
- Google Sheets — To store client and invoice data
- Gmail or another email provider — To send invoices automatically
- A PDF generator app — Such as PDF.co, DocuPilot, or Carbone (all integrate with Make.com)
- An invoice template — Either in Google Docs or within your PDF tool
Setting Up Your Google Sheet
Your Google Sheet will act as the data source for the entire workflow. Create a spreadsheet with columns for: Client Name, Email Address, Invoice Number, Service Description, Amount Due, Due Date, and Invoice Status. Every time you add a new row, Make.com will detect it and kick off the automation.
Keep your column headers clean and consistent — Make.com maps data by column name, so typos or inconsistencies can cause your scenario to break. It’s worth spending five minutes getting this right before you build anything else.
How to Build Your Make.com Invoice Automation Scenario
Now for the fun part. Here’s a step-by-step breakdown of how to build your automated invoice system with Make.com from scratch. Even if you’ve never used Make.com before, this process is more visual than technical — think of it like connecting puzzle pieces.
Step 1: Set Up Your Trigger
Log into Make.com and create a new scenario. Your trigger module will be Google Sheets — Watch New Rows. Connect your Google account, select your invoice spreadsheet, and choose the sheet tab you want to monitor. Set the trigger to check for new rows at whatever interval makes sense for your business — every 15 minutes works well for most service providers.
Step 2: Generate the Invoice PDF
Add a second module using your chosen PDF generator. Map the data fields from your Google Sheet — client name, service description, amount, due date — to the corresponding fields in your invoice template. Most PDF tools offer pre-built invoice templates you can customize with your logo and brand colors. This is where your plain spreadsheet data transforms into a polished, professional document.
Step 3: Send the Invoice by Email
Add a Gmail (or SMTP) — Send an Email module. Map the client’s email address from your Google Sheet to the “To” field, attach the generated PDF, and write a friendly email body. You can personalize it with the client’s name and invoice amount using Make.com’s dynamic variables. This makes every automated email feel like it was written just for them.
Step 4: Update the Invoice Status
Finally, add one more Google Sheets module — Update a Row — to change the Invoice Status column to “Sent” once the email goes out. This gives you a real-time audit trail inside your spreadsheet so you always know which invoices have been delivered and which are still pending.
Want to take it further? You can also integrate Make.com with your Google Workspace tools to log invoice activity in a shared team calendar or notify your accountant automatically.
Tips to Get the Most Out of Your Invoice Automation
Once your basic scenario is running, there are several ways to make it even more powerful. These small additions can dramatically improve your cash flow and client experience.
- Add a payment reminder workflow — Set up a second scenario that checks for unpaid invoices after 7 days and sends a polite follow-up email automatically
- Use conditional logic — Make.com’s filters let you send different invoice templates based on service type or client tier
- Connect to Stripe or PayPal — Include a payment link directly in your invoice email so clients can pay instantly
- Log invoices in your CRM — Connect Make.com to HubSpot, Notion, or Airtable to keep your sales records in sync
- Test before going live — Always run your scenario in test mode first to make sure every field maps correctly before real invoices go out
If you’re looking for more ways to streamline your operations, check out our guide on the best Make.com automations for entrepreneurs to see what else you can put on autopilot.
Key Takeaways
- An automated invoice system with Make.com and Google Sheets eliminates manual billing and saves hours every week
- You only need a Make.com account, Google Sheets, a PDF generator, and an email provider to get started
- The core workflow has four steps: trigger on new row, generate PDF, send email, update status
- Adding payment reminders and CRM integrations can significantly improve your cash flow
- No coding is required — Make.com’s visual builder makes this accessible for any business owner
Ready to Stop Doing Invoices Manually?
Building an automated invoice system with Make.com is one of those projects that pays for itself almost immediately. Once it’s set up, it runs in the background while you focus on the work that actually grows your business. The setup takes a few hours at most — and the time savings start from day one.
If you’d rather have an expert handle the build for you, we’re here to help. At LetsGetSocialOnline.com, we specialize in Make.com automation setups tailored to your specific business workflows — from invoicing to lead nurturing to social media scheduling.
Ready to automate your billing and reclaim your time? Contact our team today and let’s build a custom automation strategy that works for your business.